The best volleyball training equipment does not make a player better by itself. It removes a specific obstacle to useful practice: too much time chasing balls, no partner available, a target that is hard to repeat, or a coach who cannot feed the same drill cleanly. Buy the tool that solves the obstacle you actually have. A garage full of gadgets is less useful than a ball cart, a properly inflated ball, and a practice plan that creates a lot of quality contacts.
For a team or coach, start with the Molten Standard Square Ball Cart. It holds more than 30 volleyballs, folds for travel, and keeps a multi-ball drill moving. For one player training alone, the Tandem Sport Volleyball Pal is the inexpensive, focused choice for working on a serve toss and arm swing without retrieving the ball after every repetition. The Tandem Sport Collapsible Spike Trainer makes sense for a coach or club that needs controlled hitting-mechanics work. For target work at a net, the Tandem Sport Pass Catcher gives setters and passers a repeatable destination and collects the ball afterward.
The common thread is simple: each item helps practice produce more deliberate repetitions. It does not replace a net, a ball that matches your game, live reading, or feedback from a qualified coach. Use the equipment to make those things easier to practice.
Our picks at a glance
| Practice problem | Pick | What it does well | Skip it if |
|---|---|---|---|
| Keeping a team drill moving | Molten Standard Square Ball Cart | Stores 30 or more volleyballs at reachable height, folds down, and rolls between courts. | You are a single player with only a few balls. |
| Practicing alone in a small space | Tandem Sport Volleyball Pal | Returns the ball on an elastic tether after serve-toss and arm-swing repetitions. | You need realistic passing, setting, or game-speed hitting practice. |
| Teaching a repeatable hitting contact | Tandem Sport Collapsible Spike Trainer | Holds a ball in place so a coach can isolate approach, arm path, and contact timing. | Your program has no space to store a freestanding trainer. |
| Giving passes and sets a real target | Tandem Sport Pass Catcher | Clips to a volleyball net, creates a fixed target, and collects balls after a successful rep. | You do not have regular access to a compatible net. |
Buy this first for a team: Molten Standard Square Ball Cart
The Molten Standard Square Ball Cart is unglamorous equipment, which is exactly why it is our first choice for coaches, clubs, and schools. A cart changes the pace of practice. It keeps balls at a usable height, limits the downtime between reps, and lets a coach run serving, passing, and defensive drills without stopping after every ball.
The current model uses a square fabric basket on a folding frame, three-inch wheels, a side pocket, and room for 30 or more volleyballs. Those details matter more than a dramatic product name. Thirty balls is enough for meaningful team feeding, while the folding frame and wheels make the cart reasonable to move through a gym door or pack for an away practice.
A ball cart also protects the practice environment. Loose balls underfoot are a nuisance at best and a safety problem at worst. Keeping the supply in one predictable place makes it easier to separate an active drill from a recovery area. It is a small piece of organization that lets players focus on the next contact.
Do not buy a full-size cart for one player who owns three balls and practices in a driveway. It will take up space without solving the real issue. A mesh ball bag or a basic carrier is plenty in that case. The cart earns its cost when several athletes need a rapid, organized supply of balls.
Best for solo repetitions: Tandem Sport Volleyball Pal
The Tandem Sport Volleyball Pal is a narrow tool with a useful job. A waist strap connects by elastic cord to a neoprene ball pouch, which brings the ball back after a player practices a serving toss or arm swing. That setup means fewer walks across the yard or gym and more chances to concentrate on the first part of a serve or hit.
It is especially sensible for a player who needs to improve a consistent toss. The toss is easy to rush through in team practice because it seems basic, yet it decides whether a serve starts from a stable position or a scramble. With a tethered ball, the player can rehearse the same motion, pause, and reset without needing another person to feed balls back.
The limitation is equally important. An elastic tether does not create the flight, spin, timing, or decision-making of live volleyball. It cannot teach a player to read a passer, transition off the net, or adjust to a drifting set. Treat it as a short, focused warm-up or skill-isolation tool. Follow it with real serves, pepper, setting, and court movement whenever possible.
Make sure there is clear space around the athlete and inspect the cord, pouch, and strap before use. A tethered ball can return quickly, so it is not something to use around people who are unaware of the drill. Younger players should use it with adult supervision and a ball appropriate to their comfort level.
Best hitting-mechanics tool: Tandem Sport Collapsible Spike Trainer
A live set is necessary for learning to attack in a real match. It also adds variables: the ball may drift, the setter may be developing too, and an inexperienced hitter can spend a full session chasing timing instead of learning one clear movement. The Tandem Sport Collapsible Spike Trainer helps a coach temporarily remove some of those variables.
The trainer holds a volleyball in position on an adjustable, collapsible aluminum pole. A player can work through the approach, takeoff, non-hitting-arm action, and high contact point while the ball stays put. That makes it useful for teaching the difference between reaching for a low ball and contacting one at a controlled height. It can also help an athlete rehearse the arm path without asking a teammate to toss hundreds of identical balls.
Its value depends on how it is used. A player should not spend an entire practice hitting a stationary target. Attacking in volleyball is a moving, timed skill. Once the basic contact is improving, go back to live tosses and sets so the player learns to judge tempo and location. The trainer is a coaching station, not a replacement for an offense.
Before buying, measure the storage and practice space. Freestanding hitting trainers need a stable footprint and enough ceiling clearance to be useful. A collapsible model is easier to transport than a permanent tower, but it still requires a coach who will set it up carefully and use it for structured drills. A single athlete working alone may get more value from a good ball, a safe wall target, and a few sessions with a setter.
Best for target work: Tandem Sport Pass Catcher
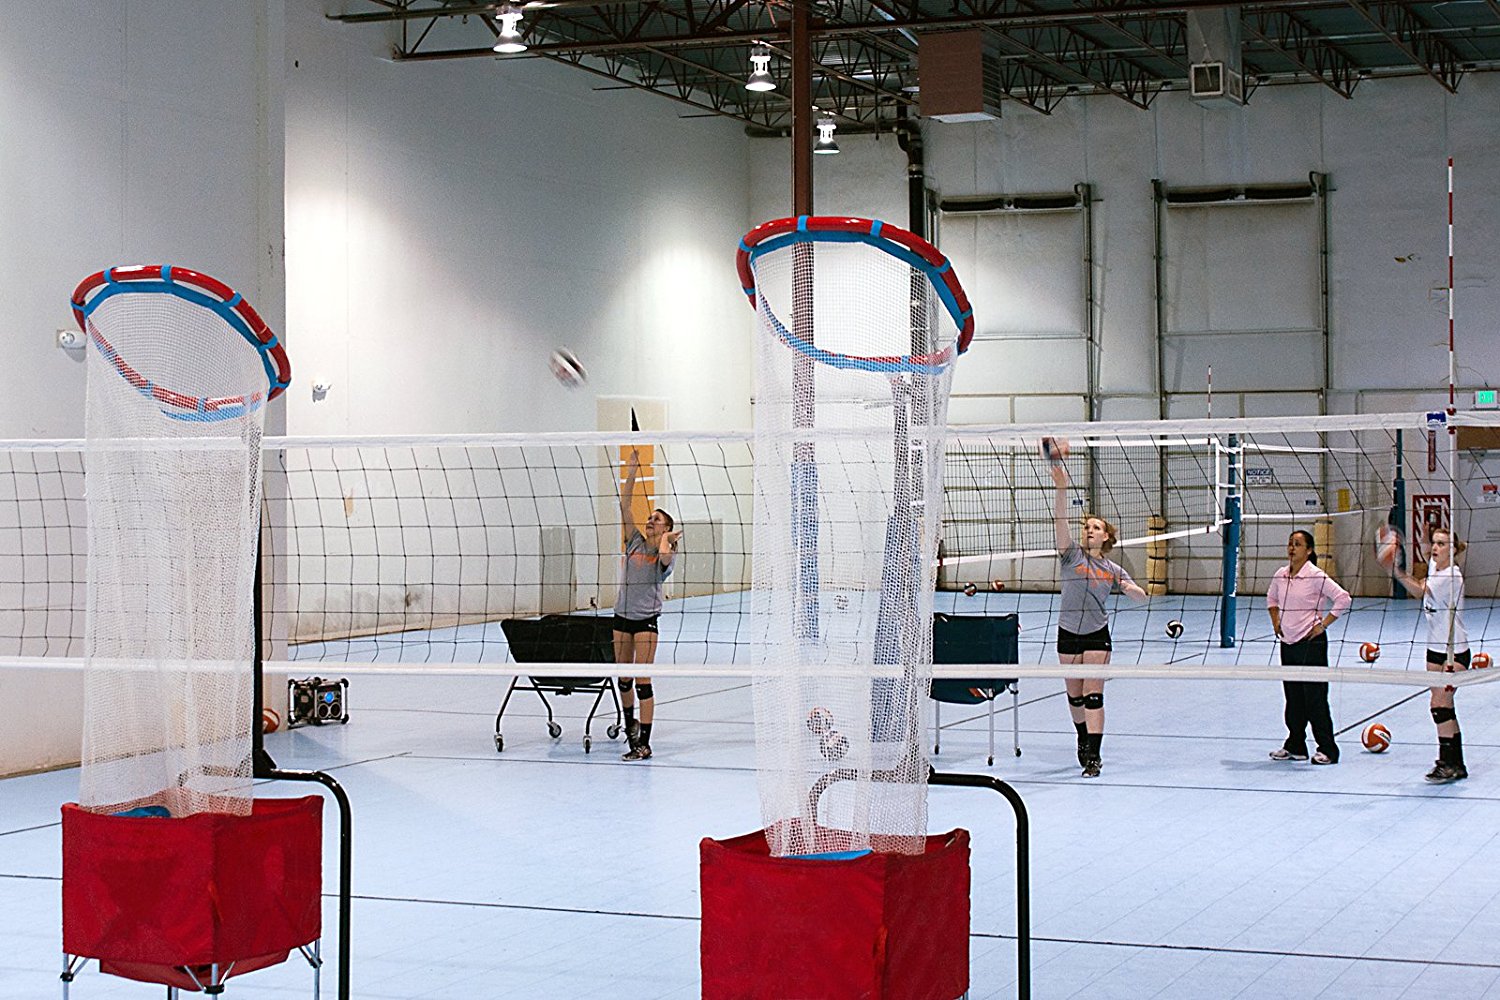
Passing and setting improve when the player has a specific place to send the ball. “Pass it better” gives no usable target. A net-mounted catcher creates one. The Tandem Sport Pass Catcher attaches to a volleyball net with clips and metal fasteners, creating a stationary target roughly 33½ inches wide, 37 inches high, and 12 inches deep. When the ball lands in it, the player receives immediate, simple feedback: the location was good enough to arrive at the intended destination.
That is helpful for individual serving, serve receive, and setting drills. A coach can position the target to represent a setter’s release point, then move it to require a different pass shape or a tougher angle. Because the catcher holds the ball after a successful rep, the drill can stay organized instead of sending people under the net after every accurate ball.
There are limits. A catcher is a target, not a teammate. It cannot show whether a pass arrived at the right height for a particular setter, and it cannot replicate a moving blocker or receiver. Use it to build directional control, then add a person and a real game task. The target should also be mounted on a net that can handle the attachment method; do not force hardware onto a lightweight recreational net that was not designed for it.
The kit most players actually need
Most individual players should begin with fewer things than a volleyball catalog suggests. The foundation is one or two good balls matched to the surface, a pump with an accurate gauge, and access to a net or a safe practice wall. Add knee pads if your training includes repeated floor defense, and use flat cones or court markers to create targets and footwork lanes. Those basics support far more drills than a specialty device that comes out once a month.
Pick the ball for the game, then build around it. An adult indoor ball, a beach ball, and a grass ball use different construction and pressure ranges. The details are in our guide to choosing a volleyball. Practicing with a random, overinflated recreational ball can disguise the feel you are trying to develop for league play.
For a team, the first meaningful upgrade is usually capacity: enough balls, a cart, a pump, and a predictable way to collect balls. The next upgrade is targets. Only after that should a program consider larger specialty trainers. This order can feel boring, but it follows the actual flow of practice. More playable balls and better organization produce more contacts for every athlete.
Match the equipment to the drill
Every item should make one drill clearer or more repeatable. A ball cart is for rapid feeds and efficient collection. A tethered ball is for an isolated toss or arm swing. A spike trainer is for a stable contact point. A net-mounted target is for directional passing and setting. If you cannot name the drill, the number of reps, and the feedback the player will receive, hold off on buying the device.
That approach also prevents equipment from becoming a distraction. An agility ladder can help organize simple footwork patterns, for example, but volleyball footwork must eventually happen in response to a ball, a hitter, or a teammate. A vertical-jump measuring device can track a specific physical benchmark, but it cannot tell you if an athlete reads the set well or lands safely. Tools measure or isolate pieces of the game; they do not create the whole game.
For hitters, spend most practice time on approach timing, body control, and live contact. For setters, use a target for a block of reps, then return to moving to a pass and setting a real attacker. For defensive players, use cones only to establish a starting point before shifting to live reads. The equipment should disappear into the drill rather than become the point of it.
Space, safety, and setup matter
Choose equipment for the place where it will live. A full-size cart is excellent in a school gym and inconvenient in a third-floor apartment. A spike trainer needs enough overhead clearance for a normal approach and swing. A net target needs a net with a stable attachment point. Before buying, measure the doorway, storage closet, vehicle, and practice area. A useful tool is one that can be set up without becoming a weekly argument about space.
Keep active drills separated from ball storage. If a cart is next to a court, orient it so a player is not likely to back into the frame after a save. Check wheels, bolts, straps, and net attachments before each session. Remove balls from walkways. Those are ordinary coaching habits, but they matter more than adding another device to practice.
Outdoor training requires another adjustment. Wind, uneven grass, and soft sand change ball flight and footing. A portable net that works on a calm lawn may not be appropriate for a competitive outdoor session. Our guide to volleyball net systems explains what to look for in a home, beach, or grass setup.
What we left out
We did not make resistance bands, weighted balls, or generic fitness gear the main picks. Those tools can have a place in a professionally designed conditioning program, but they are easy to use poorly and they do not solve a volleyball-specific practice problem on their own. Strength, mobility, and jump training should fit the athlete’s age, experience, medical history, and coaching plan.
We also left out expensive automated machines and elaborate multi-station towers as default recommendations. They can be appropriate for large clubs with dedicated facilities, trained staff, and constant use. For most teams, a ball cart, clear targets, and better drill design will have a bigger practical effect on daily practice.
How we evaluated volleyball training equipment
We reviewed current manufacturer specifications, setup requirements, and intended uses for the products in this guide. We looked for equipment that solves a defined practice problem without overstating what it can teach. We also considered storage, portability, the need for a net or partner, and the risk of buying a highly specialized item that will rarely leave the closet.
We did not treat a product’s promise as proof of improved performance. A training aid is worth considering when it creates repeatable, relevant reps and gives a player or coach a clear way to judge the result. It needs to fit the training setting, too. That is why a cart leads this guide and a solo tether has a specific, limited role.
Questions before you buy training equipment
What should a beginner buy first?
A correctly sized ball, a pump with a gauge, and regular access to a safe place to play. Add a softer youth ball when needed. A solo tether can be a helpful second purchase for serving-toss work, but game-like practice with other people remains more important.
Is a spike trainer worth it?
It is worth it for a coach or program that will use it repeatedly to teach approach and contact mechanics. It is less compelling for a player with limited space or no coaching plan. A live toss or set should still make up the larger share of hitting practice.
Do teams need a ball cart?
A group that runs multi-ball drills regularly will get a lot of value from one. It keeps balls accessible, speeds transitions, and reduces clutter. A small group with a handful of balls can use a bag instead.
Can I practice passing against a wall?
Yes, if the wall is sturdy, the area is clear, and the building permits it. Wall work can help with platform angle and control, but it does not replace passing a served ball to a moving setter. Use it for short, purposeful blocks of repetition.
Build the practice, then buy the tool
For teams, buy the Molten Standard Square Ball Cart first and use it to keep worthwhile drills moving. For a player practicing alone, the Tandem Sport Volleyball Pal is a low-cost way to work on a serve toss and arm swing. Add the Collapsible Spike Trainer when you have a coach and a regular need to isolate hitting mechanics, and use the Pass Catcher when a net-based target will make passing or setting more precise. Each choice should make the next hour of practice better, not simply make the equipment closet look more serious.